PlasmidLab / Guides / Gibson assembly
Design a Gibson assembly
Gibson assembly joins pieces that share their ends, so the junction carries no scar. You can ask for the construct in words, or build it from the menus.
Ask the agent
Open the vector and the file the insert comes from, then say what you want in the AI panel (View > Show AI Panel).
Get the GFP from the template into the vector, right behind the CMV promoter, without leaving a scar.
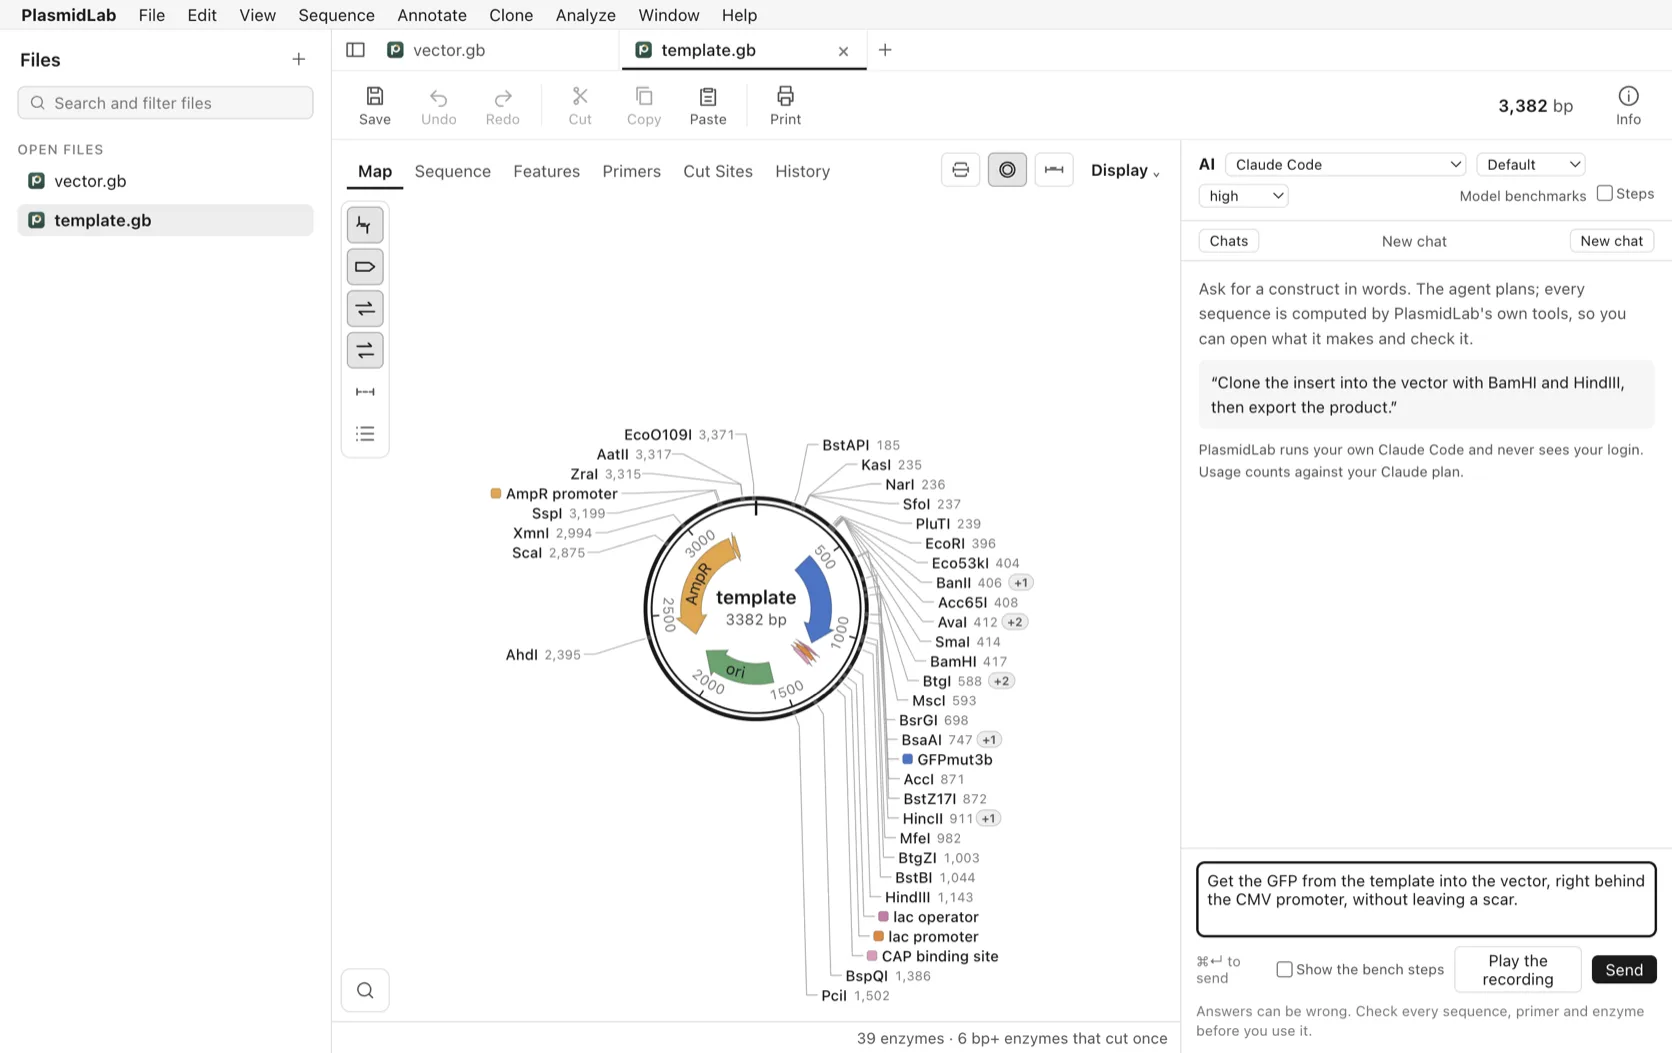
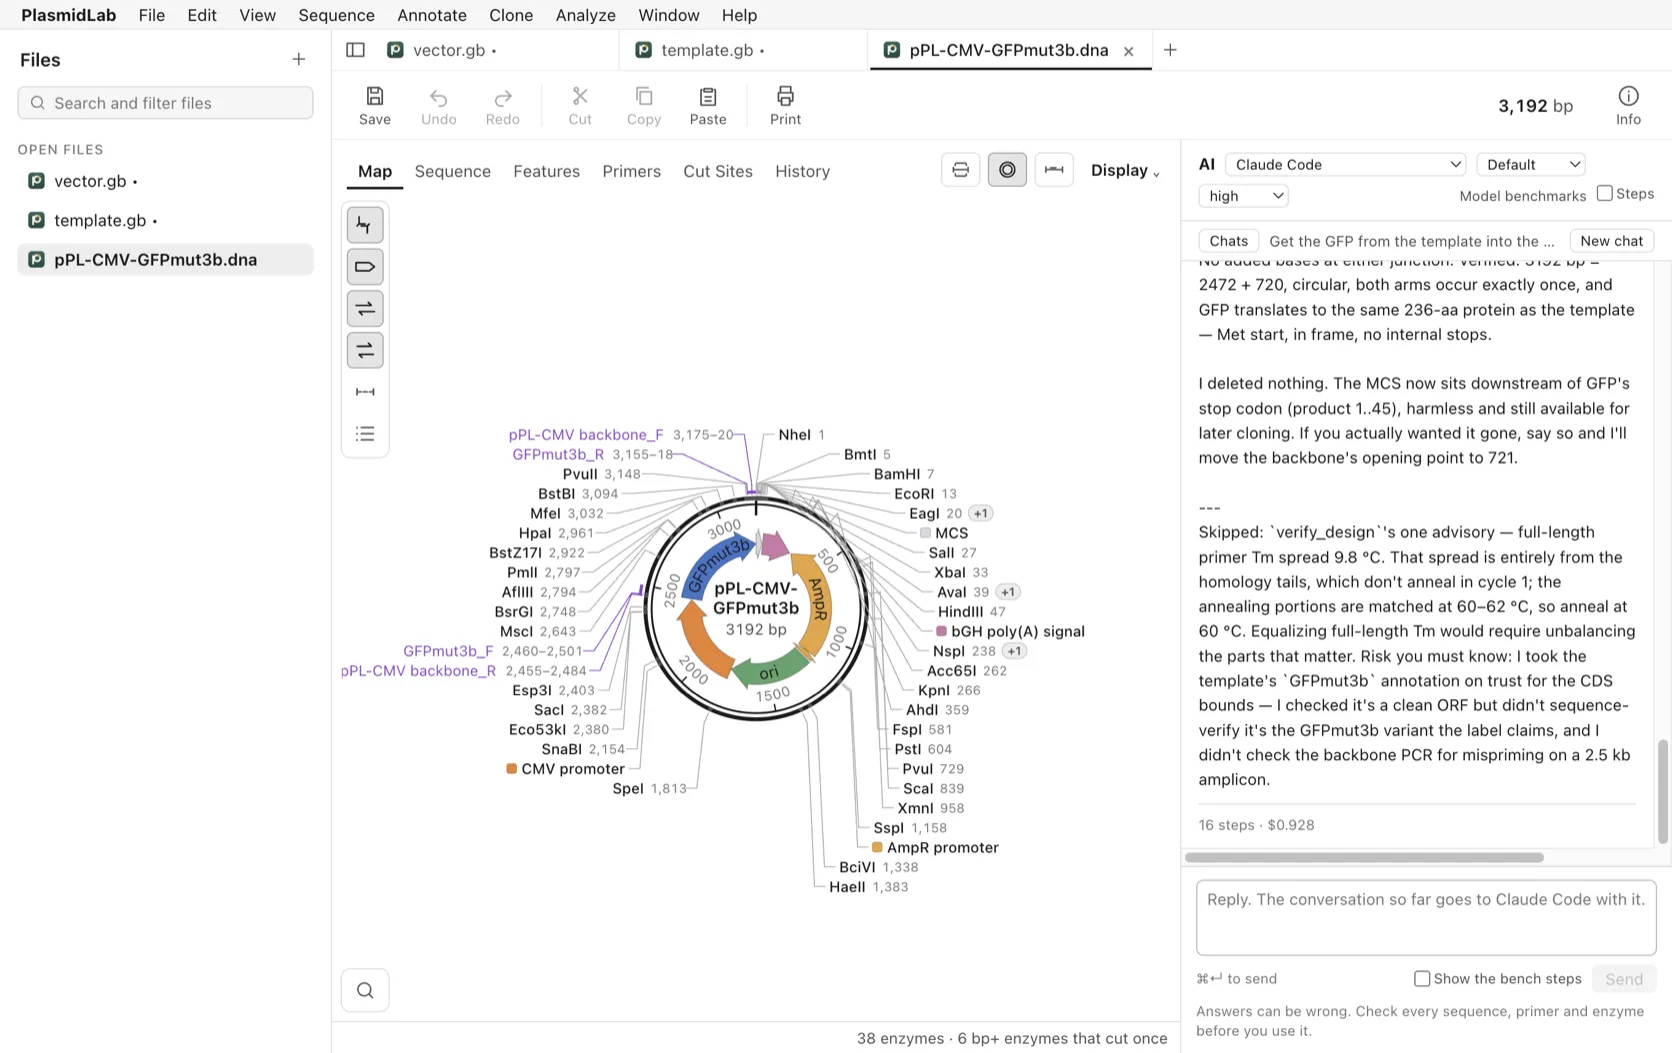
The agent reads both files and designs the assembly on them. In this run it noticed the vector already carries a Kozak sequence right after the CMV promoter and put the ATG there, so neither junction gained a base. It wrote the four primers, made the 3,192 bp product as a new tab, and said what it had not checked.
Or do it yourself
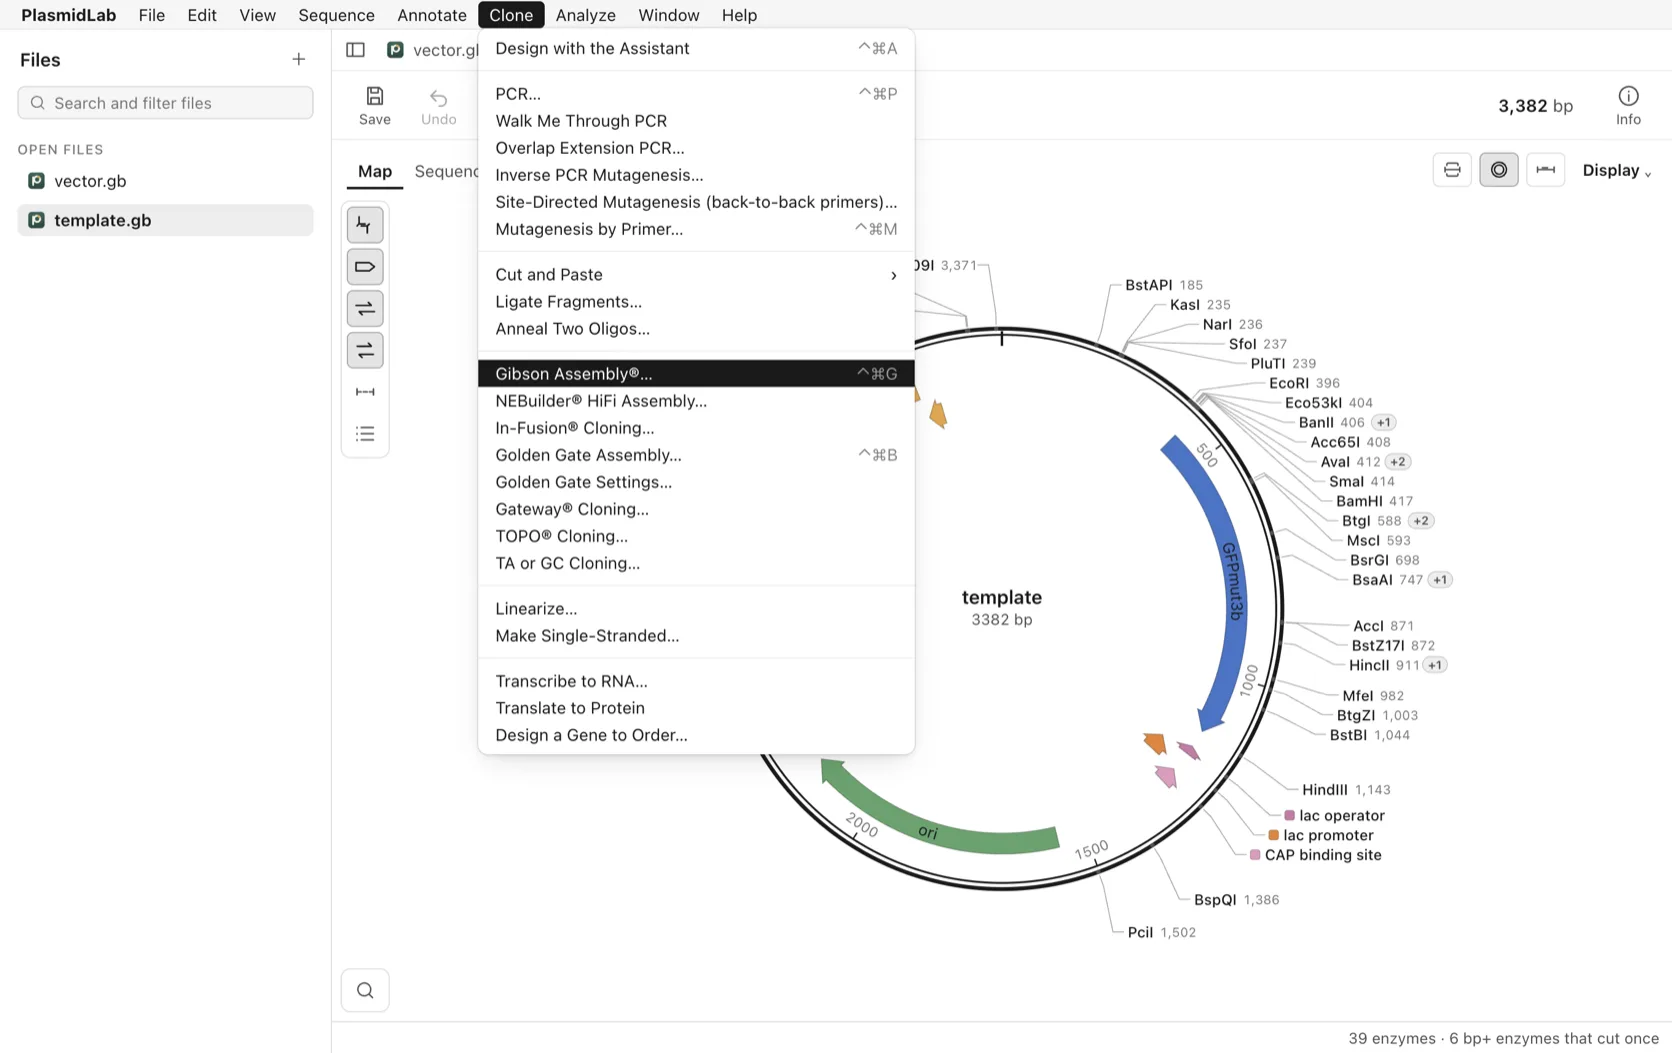
Choose Clone > Gibson Assembly®…. Pick a mode for one insert, several inserts or fragments on their own, then give each piece its source file, the bases to use and the orientation. For a circular vector, choose the enzymes that open it, or the region to replace.
The Primers tab holds the designed primers, the overlaps and any warnings; the Product tab holds the construct. Name the file and click Assemble. The window takes up to ten pieces, and each fragment has to be at least 20 bases.
Before you order
Read the product before you spend money on oligos: the sequence at each junction, the reading frame through a coding fusion, and the feature orientation. A design is not experimental validation, and the agent can be wrong.
Both routes are offline except the agent itself. Help > Try a Cloning Design… opens this exercise with its files.